Showing posts with label PC. Show all posts

Laptop SSD Upgrade

Today we are upgrading the SSD of my Lenovo IdeaPad gaming laptop. It came with a 128GB M.2 SSD as the boot drive(C drive) which is very small by today's standards. Even phones come with more storage nowadays.

So first we will start with the backup of the data in the C drive. Remember we are replacing this drive so it will not be accessible once we remove it. Back up everything and delete sensitive information before removing it or selling it to anyone. You can wipe and backup your drive with many free tools like

1. EaseUS Todo backup free

2. Paragon Backup & Recovery

3. FBackup

4. Backup4all

5. Manually to External Drive


But today we will be doing a fresh install of windows. If you have a genuine Windows licence you may want to note down the product key or the windows account to which it is digitally linked. The simple way is to run this command in the command prompt.

wmic path SoftwareLicensingService get OA3xOriginalProductKey

Remember to run the command prompt in administrator mode. 


The next thing we need to prepare is a bootable windows drive. This is a really simple process. Search the windows media creation tool and download it. Connect the flash drive and follow the instructions to prepare a bootable drive. 


It will take some time till then we will start disassembling the laptop to replace the drive.

Remove all the screws from the bottom and pry open the bottom panel. 

Before touching anything remove the battery connector to safeguard electronics from any shorting. Then locate the SSD and remove the screw holding it in. I had the wifi antenna wires interfering so I have removed those and remember where they are connected to plug them back in. Remove the old drive and insert the new drive at an angle, press it down and tighten it with the screw. Align it properly with the slot on the drive. After tightening the screw, attach the antenna cables and battery cable back. While you are inside, also clean up the dust buildup. 


Now close up everything and plug in the bootable drive we have created before powering on. It will detect the drive and go to the options to install windows. Follow the instructions and select the SSD we have installed judging from the storage. This will install windows in the SSD then restart the laptop in the installed windows


While restarting if it goes in the setup menu again, remove the USB and restart again. 


After everything is installed and booted up update windows for all the automatically detected drivers. You can go to the manufacturer site and download compatible drivers too. This will take some time and you can proceed with the installation of other software. 


Yay congratulations we have upgraded our c drive !!!

The detailed video has been linked below


Laptop Details: Lenovo Ideapad L340 Gaming

Buy Here


SSD Details: Western Digital WD SN550 250GB NVMe Internal SSD

Buy Here


PC Tips and Tricks

Today I am going to tell you some of the tips and tricks I use on my windows computer.

  • Task Manager Startup: The most basic way to speed up the startup time of a system is to disable the unnecessary startup software from the task manager. Open the task manager by right-clicking the taskbar. Then go to more details and in the startup tab, you can find the list of software that launches with the system startup. You can also see the last bios time. Now from this, the unnecessary things can be disabled by right-clicking on it. In my case, I have kept only the windows defender enabled as it is a security app. The others are your choice depending on the ones that are installed on your system. You should also leave the system ones like the intel and graphics services.

  • Cortana: Next thing I do is disable the Cortana fully by either logging out or resetting the app from settings. This has become easier in the new updates as Cortana is now an app. Cortana is always active in the background consuming system resources. Generally, in low-speed devices. Small tweaks have a lot of impact and Cortana doesn't even make any difference to me personally.

  • Install as apps: Many times we use web versions of some software as the web versions are more stable and better in some ways. If you use them more frequently it can be pinned in the browser but there is a more interesting way to use it and make it feel more like a dedicated software as it is launched in a separate window and also with a logo. Just go to the site you want then in the option and find the option to install this site as an app. I am using Microsoft edge for this but in chrome, this option is under the name of creating shortcut under more tools. Most of the browsers have this option, just naming will be different.

  • Windows Shortcuts: Now I will take you through the windows shortcuts which I find useful and use almost daily

  1. Win+shift+s: this is for the snipping tool which is now built into Windows 10. No need to install separately. Also, you can add a shortcut in the notifications panel which I find better than pressing 3 keys. It directly copies the image to clipboard for pasting anywhere. It also gives a notification after taking the snip. Clicking on it will open the editor wherein you can annotate and save it as an image.

  2. Win+PrtScr: We all know pressing the print screen will copy the whole screen to the clipboard but windows plus print screen takes a screenshot of the whole screen and saves it in the pictures folder in screenshots.

  3. Win+.(full stop: Next is windows plus full stop which opens the emoji tool which has all the common emojis for chatting.

  4. Win+G: We all don't know but windows have a built-in screen recorder. Pressing windows plus G will open the game centre and you will find the recording button in there. The only problem with it is that it was built for recording games so when the active window is closed or switched it will close automatically. But for emergency recording it is good. For other full-scale recordings there is other dedicated software like obs and others.

  5. Win+tab: We all use the alter plus tab to switch windows but in windows 10 a better and graphically pleasing feature is added. By pressing the windows and tab button brings up a task view. This has all the active tasks in a full screen then you can select the window you want. It is better as any window can be selected by mouse click rather than going through the sequential selection process in case of an alter tab. In this view, you can also create virtual desktops in there and go back and forth from there. This tasks view can also be brought up by this button on the taskbar. If there is no button on your taskbar just activate by right click and check the show task view button.

Become the Power User || Windows PowerToys

Windows Power Toys is a windows utility tool that is developed by windows for power users which gives enhanced utility options that are not necessarily useful for normal users. The source code is available on GitHub here.
This tool increases productivity by some features like fancy zones, image resizer in explorer, powerful renaming tool, keyboard manager, etc.

Features:

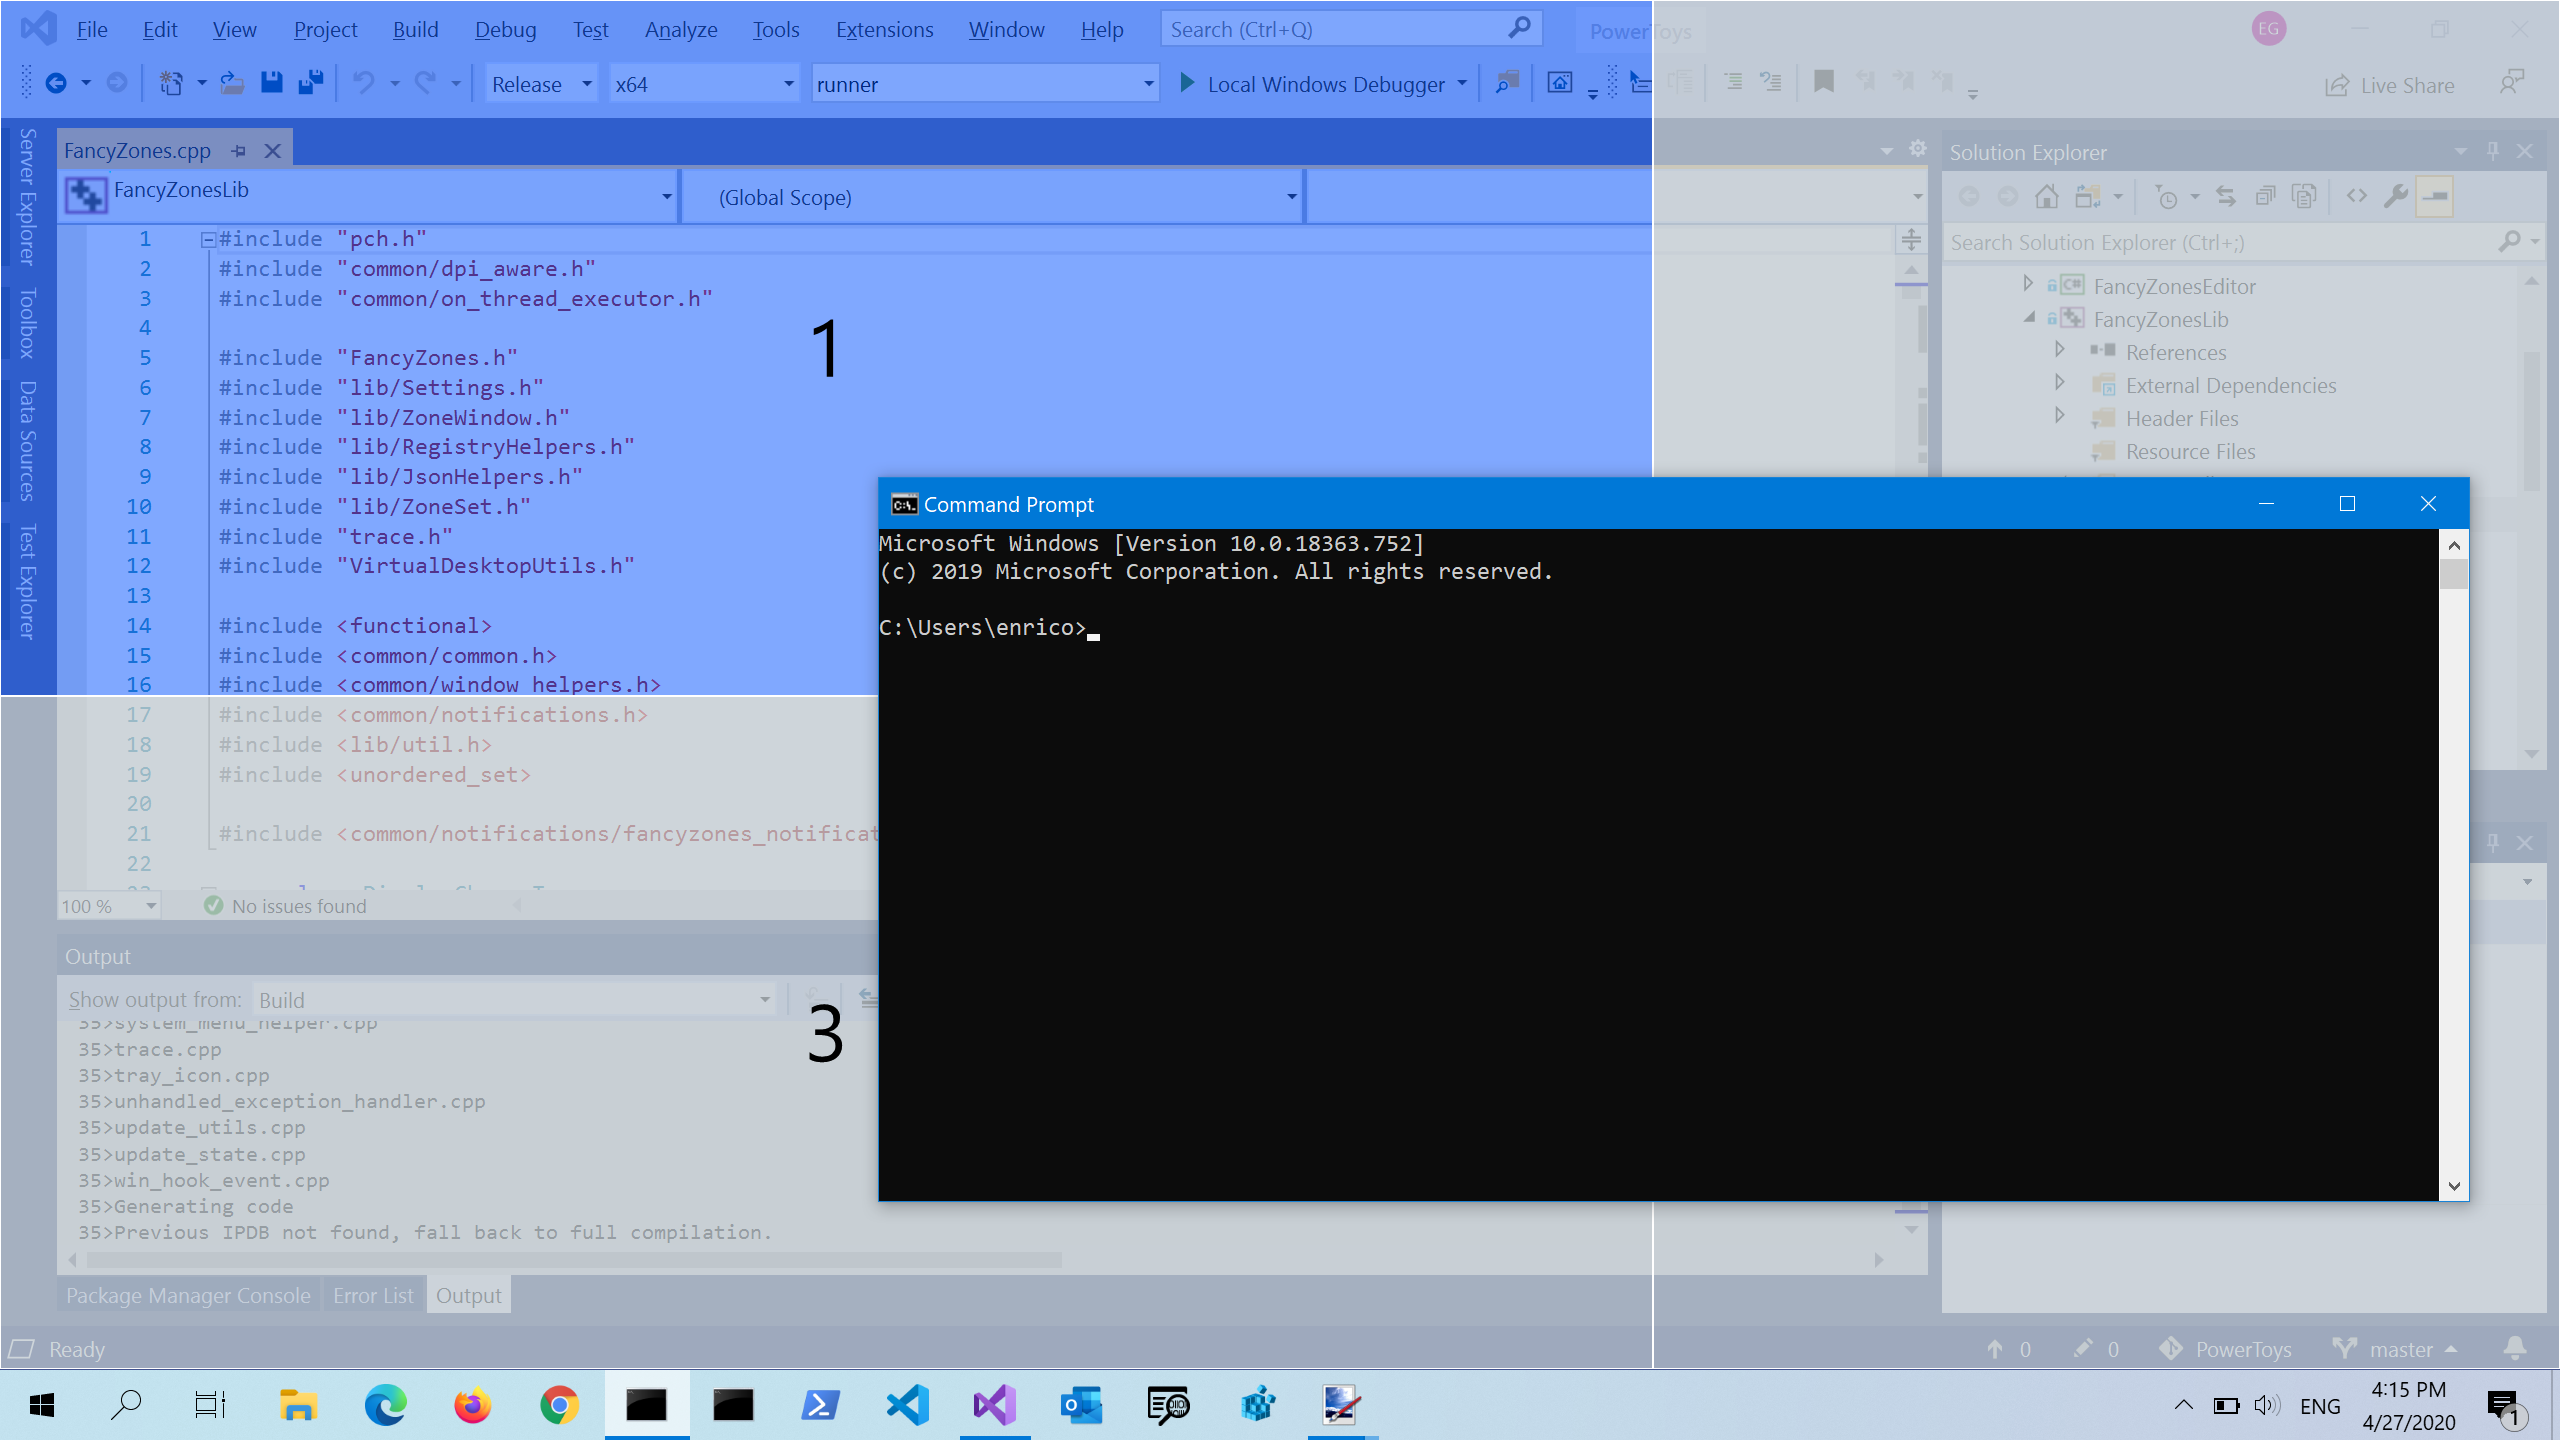
1. Fancy Zone: The windows snap feature works fine for most users but some users might find it not so useful to snap the windows to corners or sides. with this tool, the windows snapping zone can be modified and can be set to any size and shape. There are also some prebuilt zones that can be chosen. The good thing is that it is activated when the window is moved by holding down shift key. This means that the default snapping is also available and when the shift key is pressed these new zones get activated.
FancyZones
FancyZones Picker
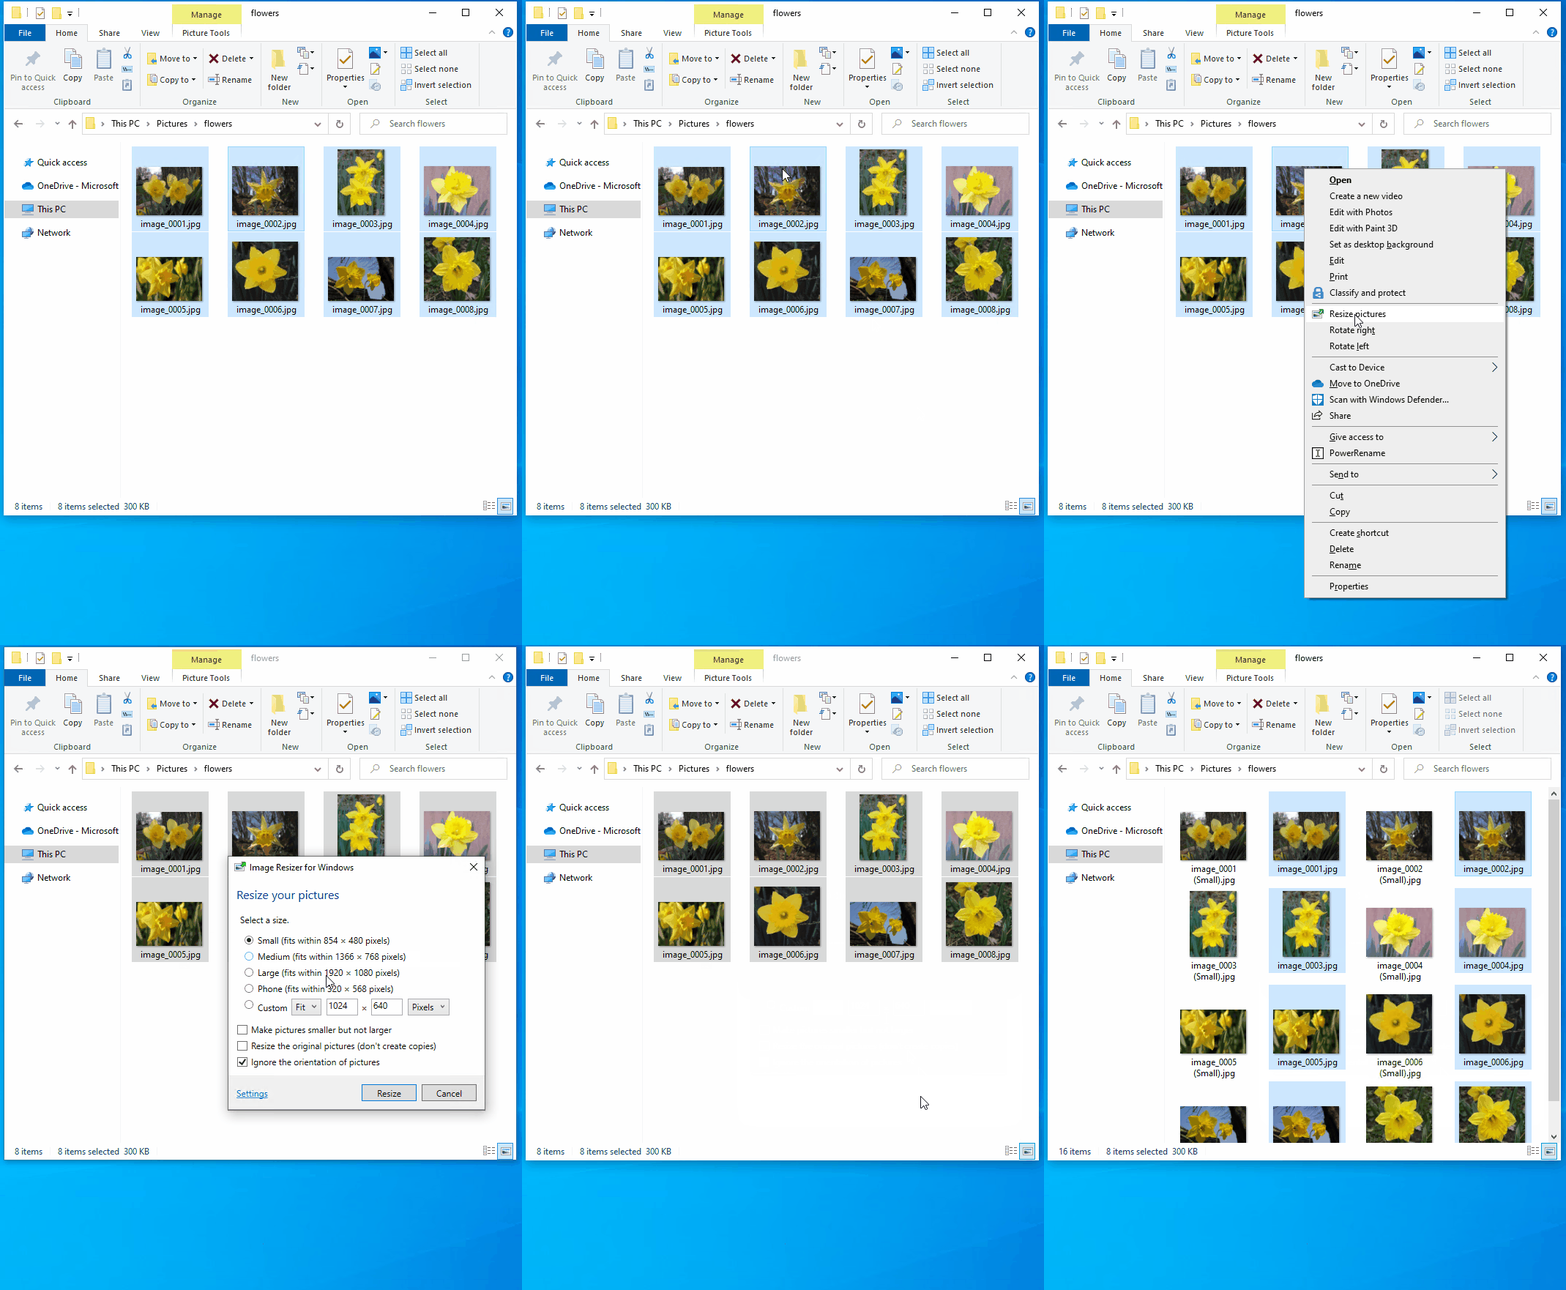
2. Image Resizer: This image resizer is a simple tool which lets you resize an image to a preset size or any custom size. This can be accessed easily by just right-clicking on any image and setting the values. If you know the settings the compression and the fallback encoder can also be changed although the default settings are more than enough.
Image Resizer Demo
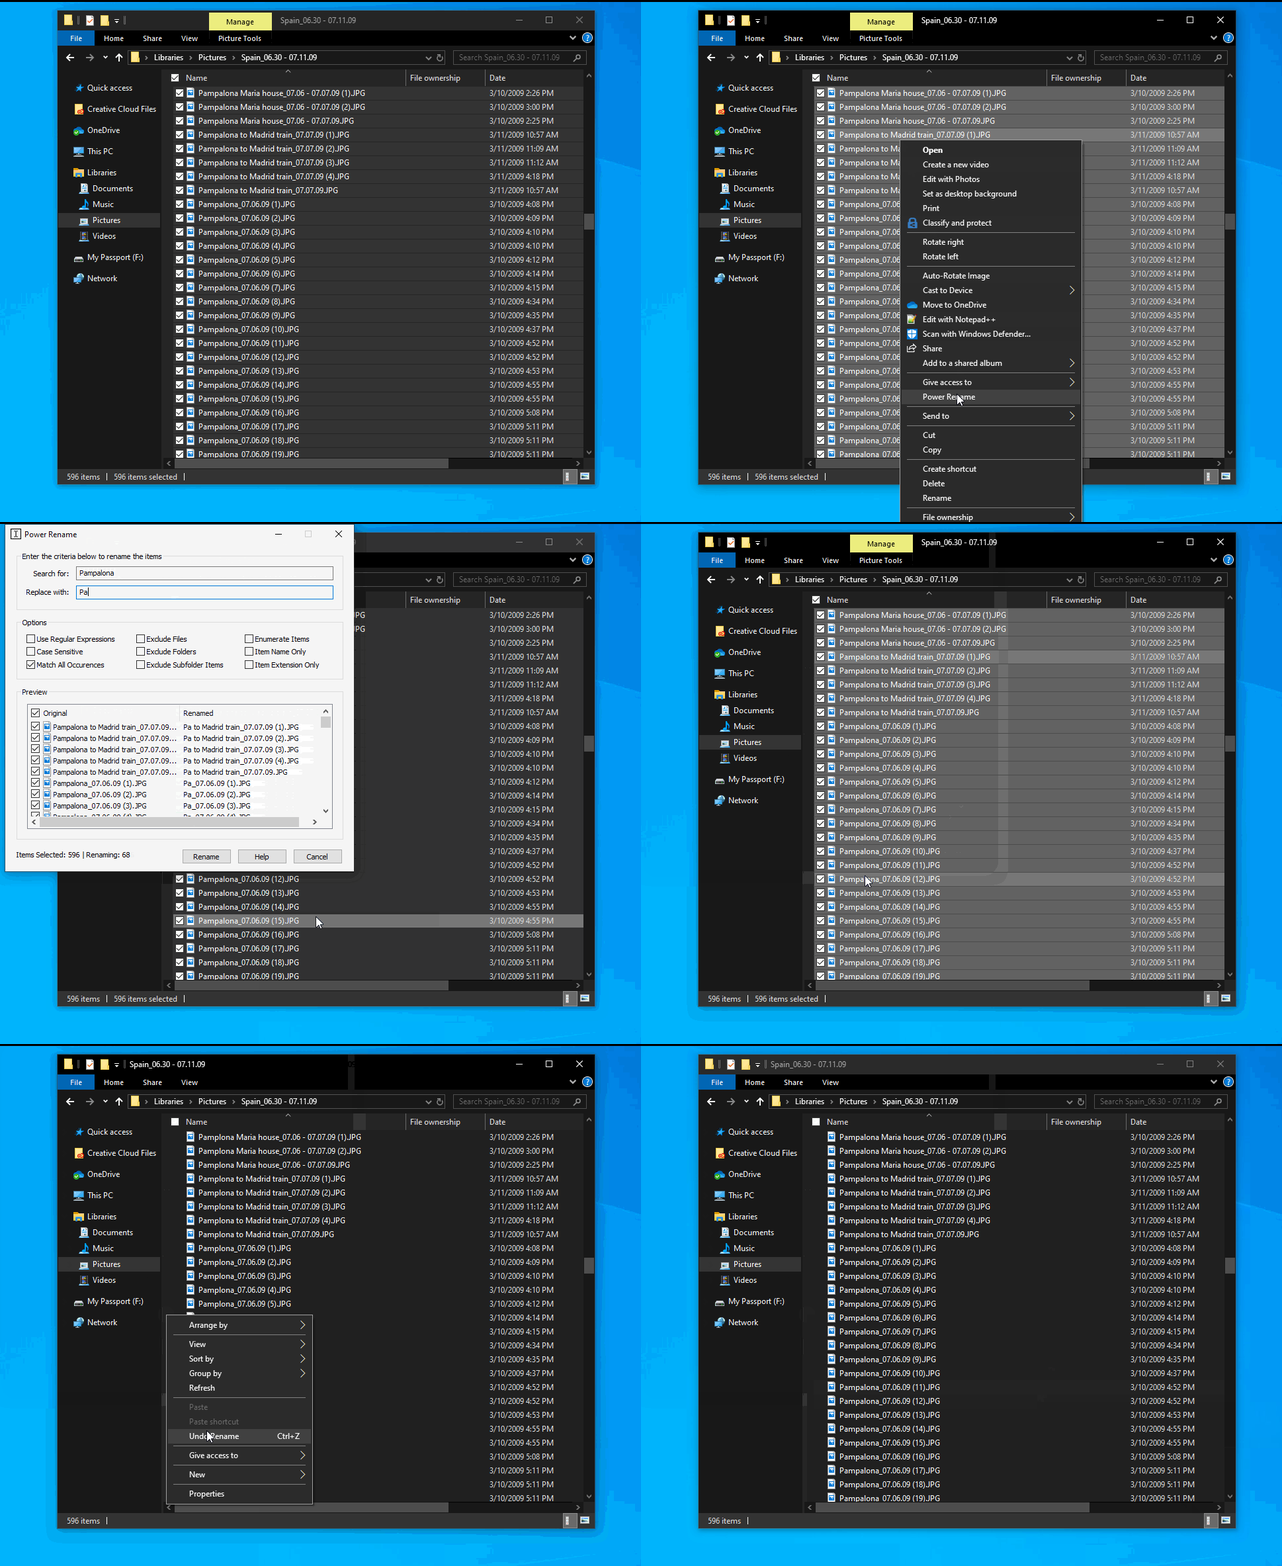
3. Power Rename: As the name suggests this takes the renaming game to a whole new level. Multiple files can be selected at a time for renaming purpose, find and replace a specific word in a file name, change the extension of multiple files, and much more.
PowerRename Demo
4. Keyboard Manager: This is a simple utility for remapping keyboard keys.
5. PowerToys Run: This is a simple search bar which appears in centre of the screen with the shortcut keys alt+space.
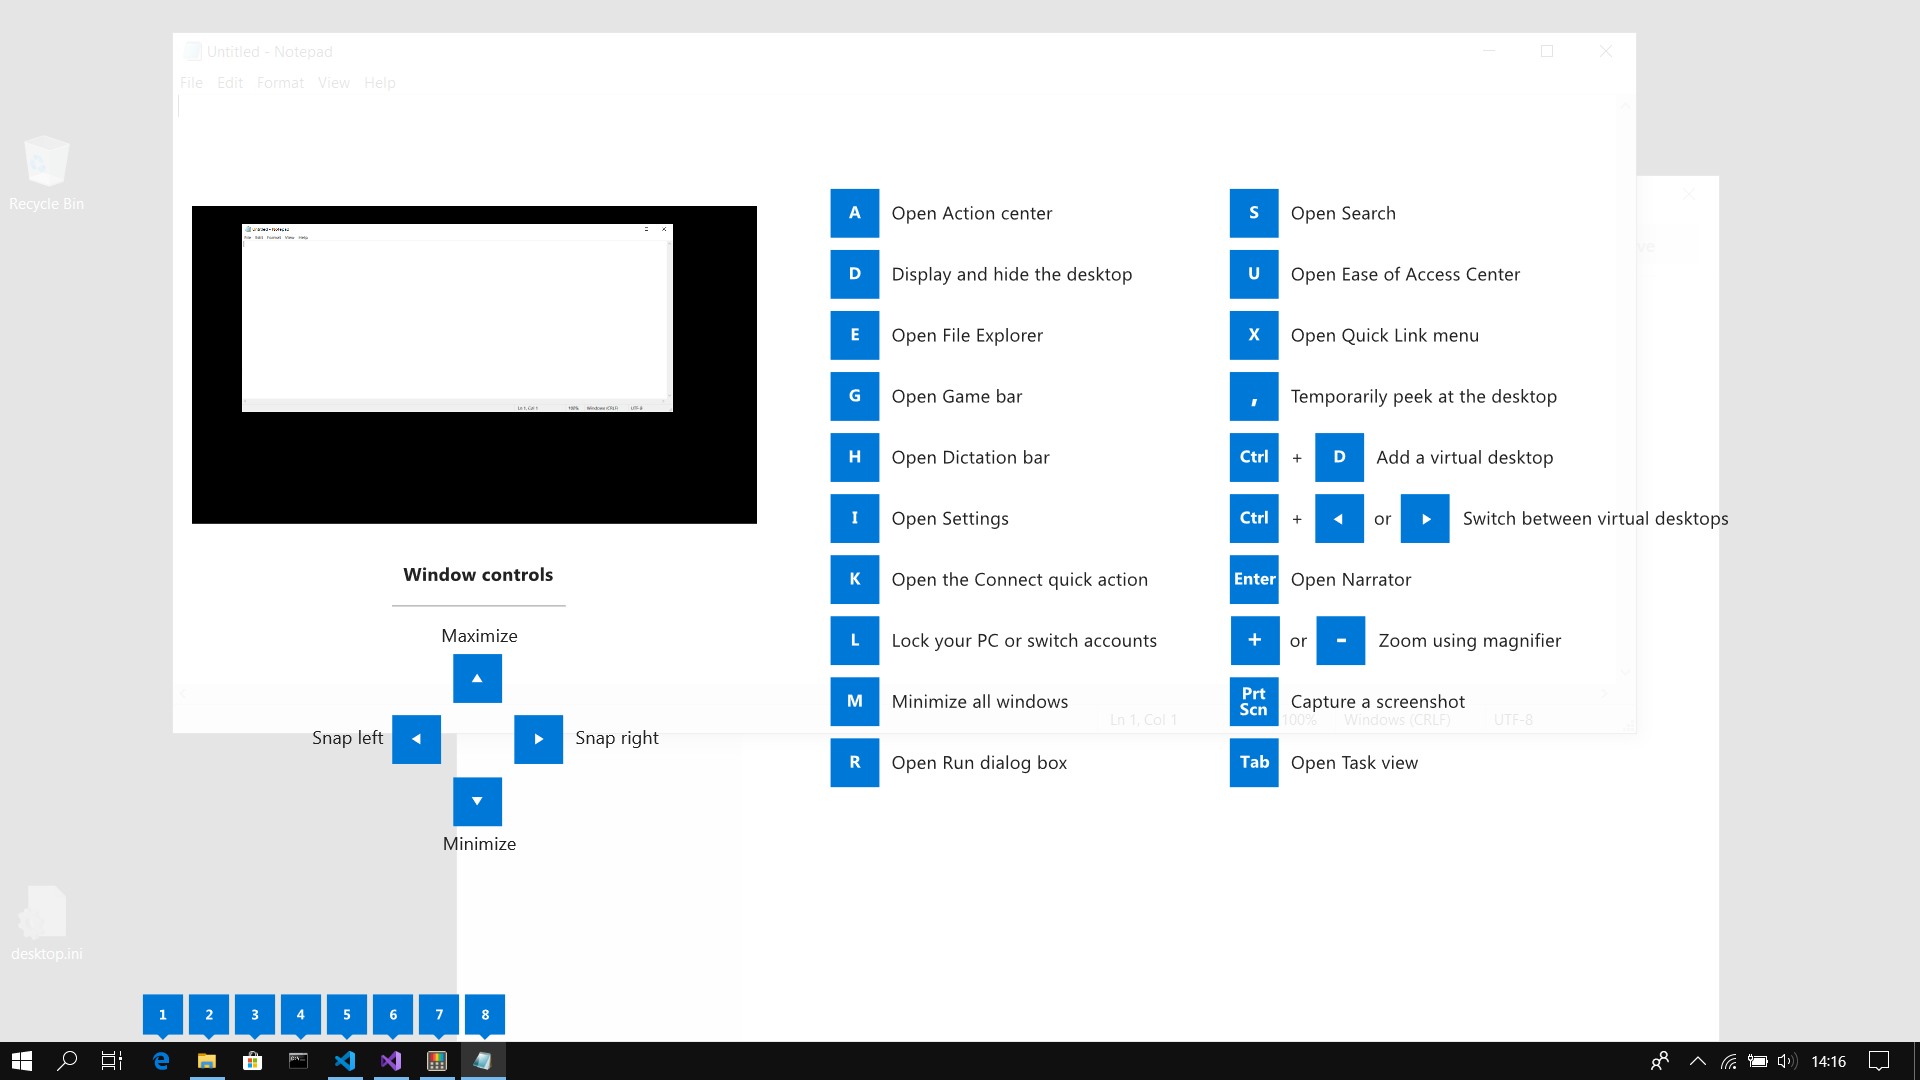
6. Shortcut Guide: This is a simple utility to show which windows key shortcut are available on the window you are currently in by pressing down the windows key for 1 second giving a full-screen guide.
Image of the Overlay

Installing:
The installing is easy. Click on this link which will open the release page. Then scroll down and download the .msi file and install it.
Then Sometimes it may ask to install .NET Core and it will automatically take you to the downloads page.

The New Microsoft Surface lineup

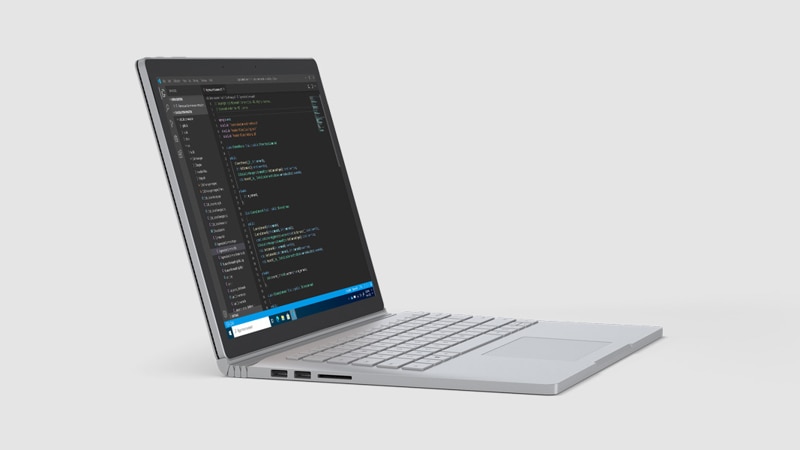
Amid the pandemic and mass lockdown Microsoft has digitally announced the update to the Surface Book, Surface Go, Surface Headphones and the Surface Earbuds.

Surface Book 3
No Data AvailableNo Data AvailableNo Data AvailableNo Data Available
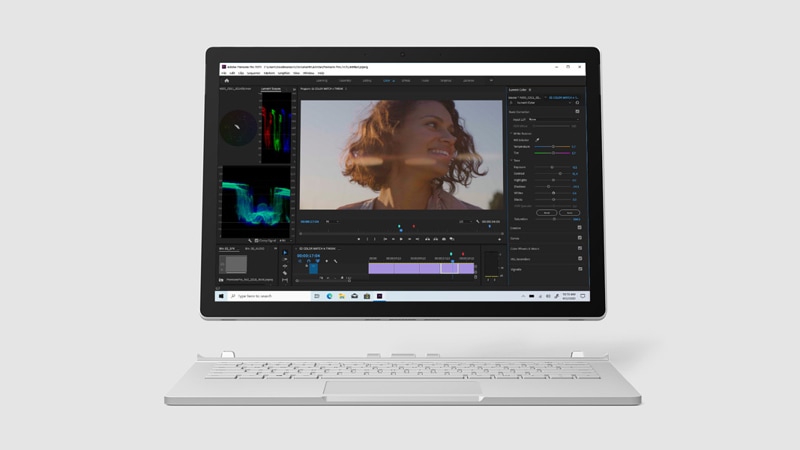
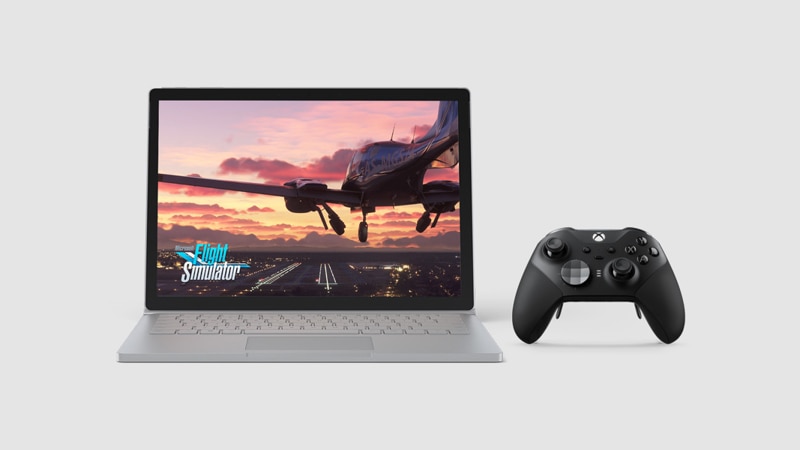
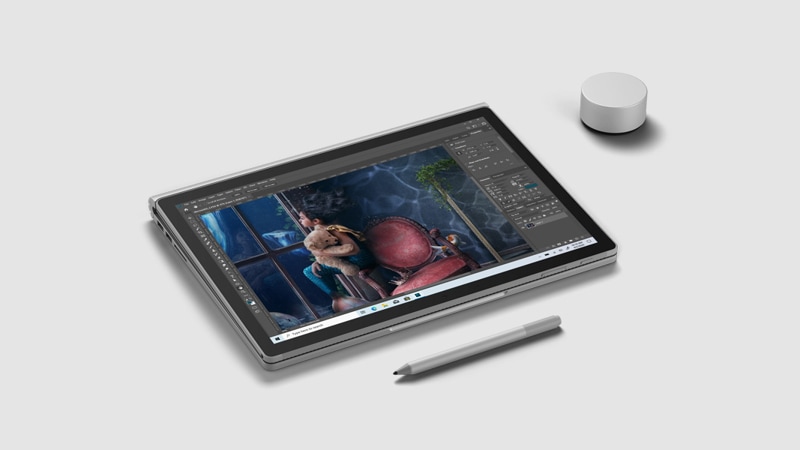
The Surface Book with the touch display and the 3:2 aspect ratio is considered to be a productivity machine. The specs also agree with the claims. It is basically capable of everything like video editing, graphics rendering, playing games, drawing with pen support. The unique hinge design gave it the name in the first place which made it a stand-alone tablet and with the bottom half which houses a dedicated graphics processor, it gave extra power and battery life when needed. The detachable hinge makes it a very versatile device capable of morphing to positions that are not possible with a conventional hinge.
The Surface Book has been updated to the latest 10th gen intel processors and Nvidia 16 series GPU. The Design od the device has not changed much. The 13" starts at $1600 and can be configured up to 32GB RAM and 2TB storage with intel core i7 and GTX 1650. The 15" starts at $1600 and can be configured up to 32GB RAM with 2TB storage and intel core i7 and Nvidia GTX 1660Ti.

Surface Go 2
No Data AvailableNo Data AvailableNo Data Available
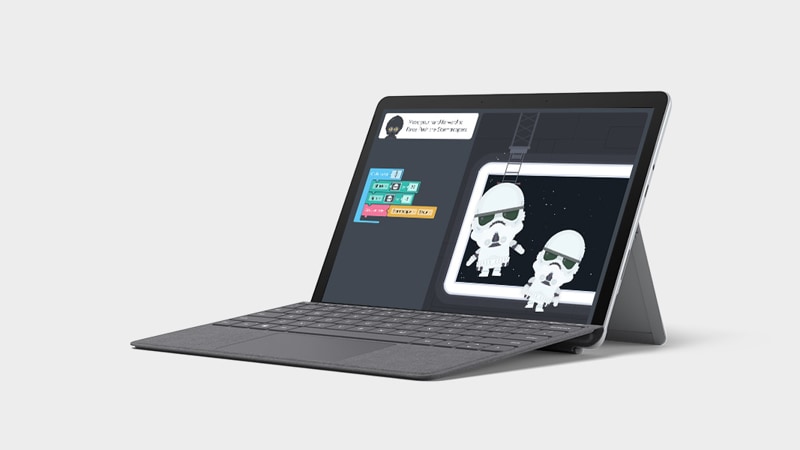
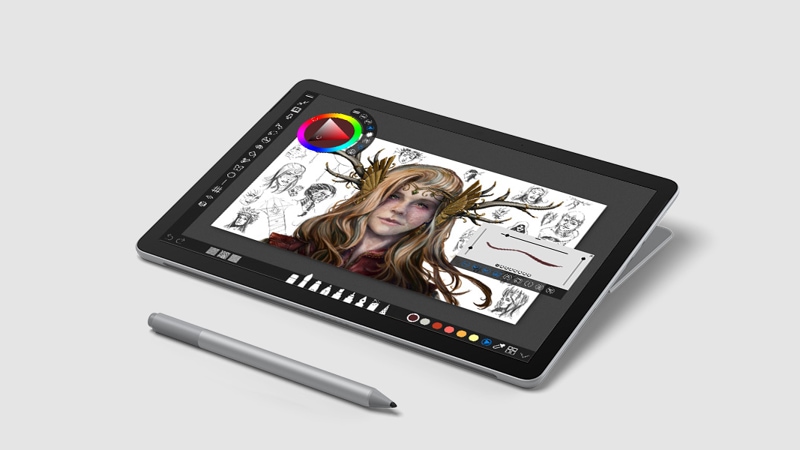
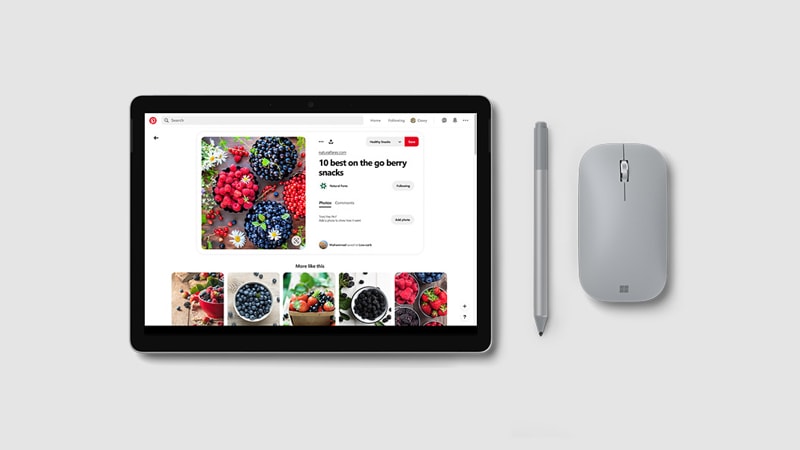
The Surface Go series was built keeping in mind the portability and more battery life. The surface go has an intel gold processor in the base model with 4GB RAM and 64GB internal storage. And it runs a stripped-down version of Windows 10 which is the S mode. In this S mode only apps from the store work and the preinstalled apps. But it can be easily upgraded to full windows easily. It is a great device starting at $400 as it is a better option than any chrome book as it has full windows so not just stuck on the chrome extensions and the apps on the store. The full windows offer a more evolved ecosystem of software and the Surface devices have made a name for themselves for the hardware quality and the touch experience.
Compared to the last generation of surface go, the form factor has not changed but the bezzles have got much smaller. There is a 64% performance boost and the cameras and mic system have improved
Even with the 64% performance boost with just the Windows Store apps, it gives a compelling competition to the iPad 10.2 inch in the US as the $329 iPad is better in terms of the app ecosystem. While both the devices perform at a different level in terms of performance the device choice will greatly depend on the use case and the ecosystem preference. The Surface Go 2 can be configured up to Intel core M3 with 8GB RAM and 128GB storage at $730.

India pricing has not been released yet.

Best upgrade for your slow laptop || Laptop SSD upgrade || RAM upgrade

          Most of the new laptop nowadays come with SSD installed. SSD is Solid State Storage which is much faster than the traditional optical Hard Disk Drive. Even the entry-level SSD like the WD Green has Read speeds of 545 Mb/s which is very fast.
       The old laptops and even the cheaper laptops come with an optical drive and not SSD for decreasing cost. The most sensible upgrade is first the RAM which if you have an extra slot will be very easy of which I have made a YouTube video.

The laptop will make use of the RAM for performance but still, the laptop will feel slow to boot and launching software. This time the bottleneck is the read speeds of the drive where the software are installed. The old laptops will have a DVD drive which is essentially a SATA interface which is the same interface required for an SSD. But there will be no mounting system. This can be easily solved by a hard drive caddy which is the same size as the DVD drive and fits in the place.
The SSD with the SATA interface fits in the caddy and the caddy goes in the place of your old optical drive. Then the cover of the old DVD drive can be removed and fitted on the caddy which will blend with the laptop and no one will be able to tell if anything is different with the laptop.

Advantages of SSD
1. Boot speed of the laptop will increase leaps and bounds.
2. The software installed on the SSD will launch very fast.

Remember:
1. Old laptop upgrade by replacing the DVD drive buy the SATA SSD and Caddy
2. New laptops buy M.2 SSD
3. The caddy comes in two thickness 12.7mm(very old laptops) and 9.5mm. Check before buying.


Best Mobile Browsing Experience (Chrome Flags)

Chrome has some interesting features in testing which are hidden in the flags section which you can access by typing this URL in the address bar. Although these features are experimental they work 99% of the time. Today I am going to share some of these flags which I find useful.

1. An ephemeral tab in an overlay panel  #enable-ephemeral-tab
Sometimes while searching for something we often open multiple unnecessary pages which are not required at all. This flag enables an option to preview a web page with an overlay on the previous one. This is like peeking in the page and closing if it is the wrong one. When we click on a link it opens but the previous page is lost and the browser loads it again when we go back which is time-consuming. This does not close the previous link so you can quickly close it. This also works with images to preview.

2. Overscroll history navigation #overscroll-history-navigation
This flag enables a simple gesture where if you swipe from the left edge it goes back and swipe from the right edge to go forward.

3. Chrome Duet #enable-chrome-duet
Nowadays displays are getting taller and taller and it is hard to reach the top. The browser controls are all located on the top. This brings all the controls at the bottom of the screen. So when this option is enabled the home button, bookmarks, search tabs and options button shift to the bottom of the screen so that you don't have to reach to the top of the screen.To use this flag with tab group enable #enable-duet-tabstrip-integration.

4. Horizontal Tab switcher #enable-horizontal-tab-switcher
In android and ios to switch tabs, you have to do a horizontal scroll but chrome still has the vertical scroll. But the tabs scroll can be switched to horizontal by this flag. This will even out the interface and match the new interaction methods. (Remover from recent update).

5. Tab Groups #enable-tab-group
This feature is especially for those who open 100s of tabs at once. This enables the option to group tabs and managing them becomes very easy. But you may have noticed that the duet feature gets disabled due to this and the old layout is back. You can group tabs by dragging them over one another in the tab manager.

6. Android Chrome UI dark mode #enable-android-night-mode
Everyone is getting dark mode, but chrome has just added it and you can enable it in settings. But if for some reason if you are not able to see it enable this flag and after relaunching the app, go to settings and you will see a new themes option. There set the theme to match the system or a permanent dark one.

7. Send Tab to Self #enable-send-tab-to-self , #enable-send-tab-to-self-show-sending-ui
Many times we need to share links between our devices for various purposes. By this, you can do this within chrome itself. After enabling these two flags in all the device between which you want to share a link, click on the share button then you will see the send to your devices button then you will get the active device. Clicking it will send a notification to the other device. Make sure the other device also has the flag enabled like this on the computer.